|
OpenRemise
|
|
OpenRemise
|
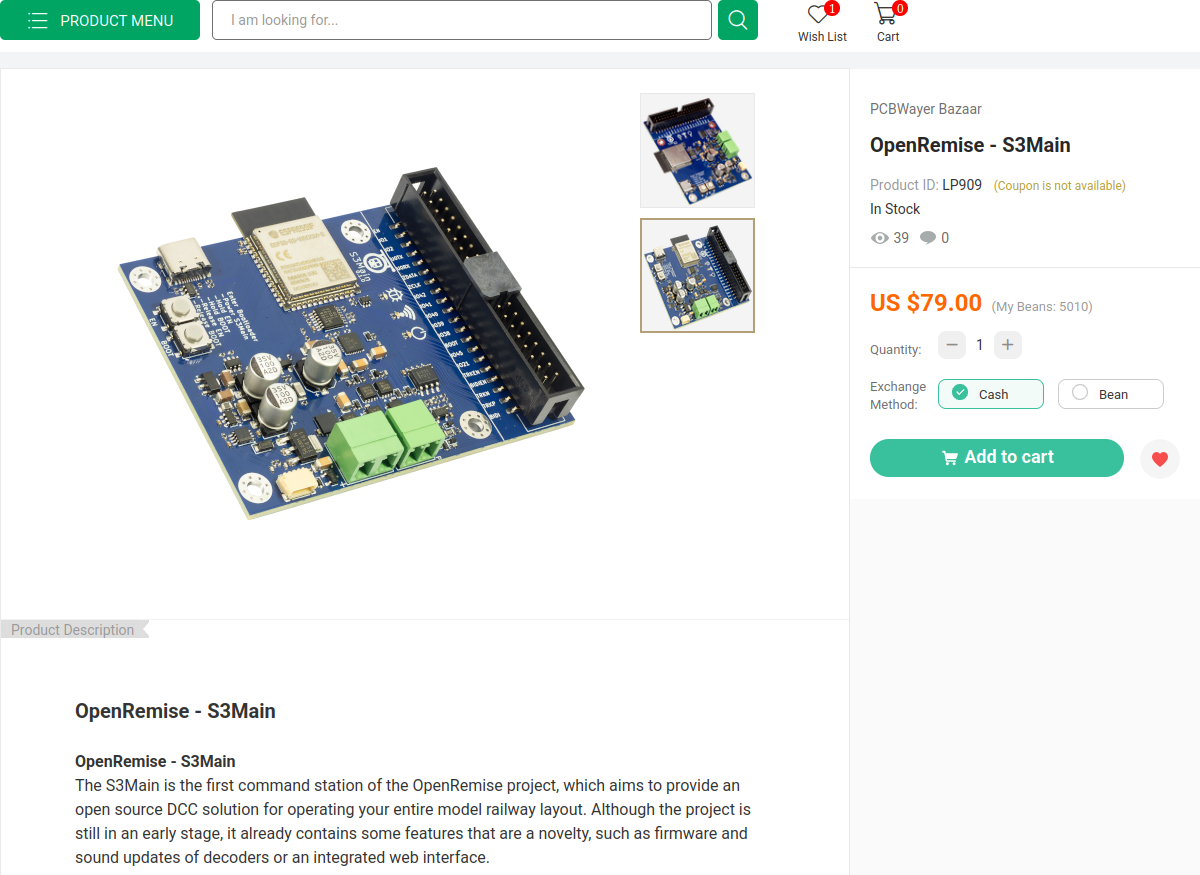
Not everyone is able to have printed circuit boards manufactured by a PCB prototype service. For this reason, a small contingent of boards is available at the PCBWay Bazaar, a marketplace service specifically for hobbyists and DIY enthusiasts.
The following OpenRemise boards can currently be ordered:
Please note that these boards do not contain any software when delivered. This also means that the PCBs can only subjected to a visual inspection and not a functional test. However, I also had all of my prototypes manufactured at PCBWay and have not had a single soldering error in over a dozen orders.
If you don't fancy buying from PCBWay and you know your way around Gerber files, you are welcome to manufacture your own hardware at any other PCB prototype service, e.g.
The KiCad projects with all Gerber files can be found on GitHub.
Flashing the firmware for the first time is easier than with many professional products. The only things you need besides the board itself (obviously) are
Supply the board with power and plug in the USB-C cable. The red LED under the  symbol on the board should light up.
In order to make the board receptive to uploads, we need to switch to the so-called bootloader. Conveniently, I printed the instructions directly onto the board 😉. The two buttons EN and BOOT must be pressed in the following order.
Unfortunately, the board doesn't give any feedback as to whether it is actually in boot mode. If it turns out later that it isn't, you can repeat the process at any time without worrying about breaking anything.
To flash the firmware onto a factory new board there is a small tool called... well, Flasher. It is available for both Windows and Linux operating systems. Please select your operating system and follow the steps.
 button
 buttonbuttonbutton
The following (accelerated) clip shows what the upload should look like. Depending on the baud rate, uploading the firmware may take a few minutes.
 button. The firmware can be downloaded from the following link.
Congratulations, you have successfully installed the OpenRemise firmware on a board. Some features, such as USB, already work, but the board is still running in what is known as access point mode. This means that the board initially opens its own WiFi network and does not connect to one. Therefore, we still need to adjust the WiFi settings to connect to the desired network.
To change the WiFi settings you have to connect to the board with a WiFi-enabled device. If your PC doesn't have WiFi, you can simply use a smartphone. Any device with a web browser is sufficient.
The following steps are necessary to change the settings.
The following clip shows me performing these steps on my smartphone.
If the board has restarted and the WiFi settings are correct, it should now connect to the network. The green LED under the  symbol lights up as soon as a connection is established.
From this point on, the web interface will should be available at the local mDNS address (e.g. http://remise.local).
Wait, should? Well, the situation is... complicated. Although all modern browsers support mDNS, they rely on services within the operating system. Unfortunately, this support is limited on Android and completely absent from Windows10.
| Operating System | mDNS Support | Notes |
|---|---|---|
| Linux | Yes | Requires avahi-daemon (usually installed by default on major distros). |
| macOS | Yes | Uses Bonjour |
| Windows 10/11 | Yes (partial) | Only if Bonjour or other mDNS responder is installed (e.g., via iTunes, Adobe CC, or manually). Windows 11 has improved native support. |
| Android | Partial | mDNS is supported at the app level via NsdManager, but not integrated system-wide. |
| iOS/iPadOS | Yes | Bonjour-based |
If you have problems connecting via mDNS, I recommend setting up a static IP address as described in chapter Connect to WiFi. Instead of remise.local, you would then type e.g. 192.168.0.4 into the browser's address bar.